

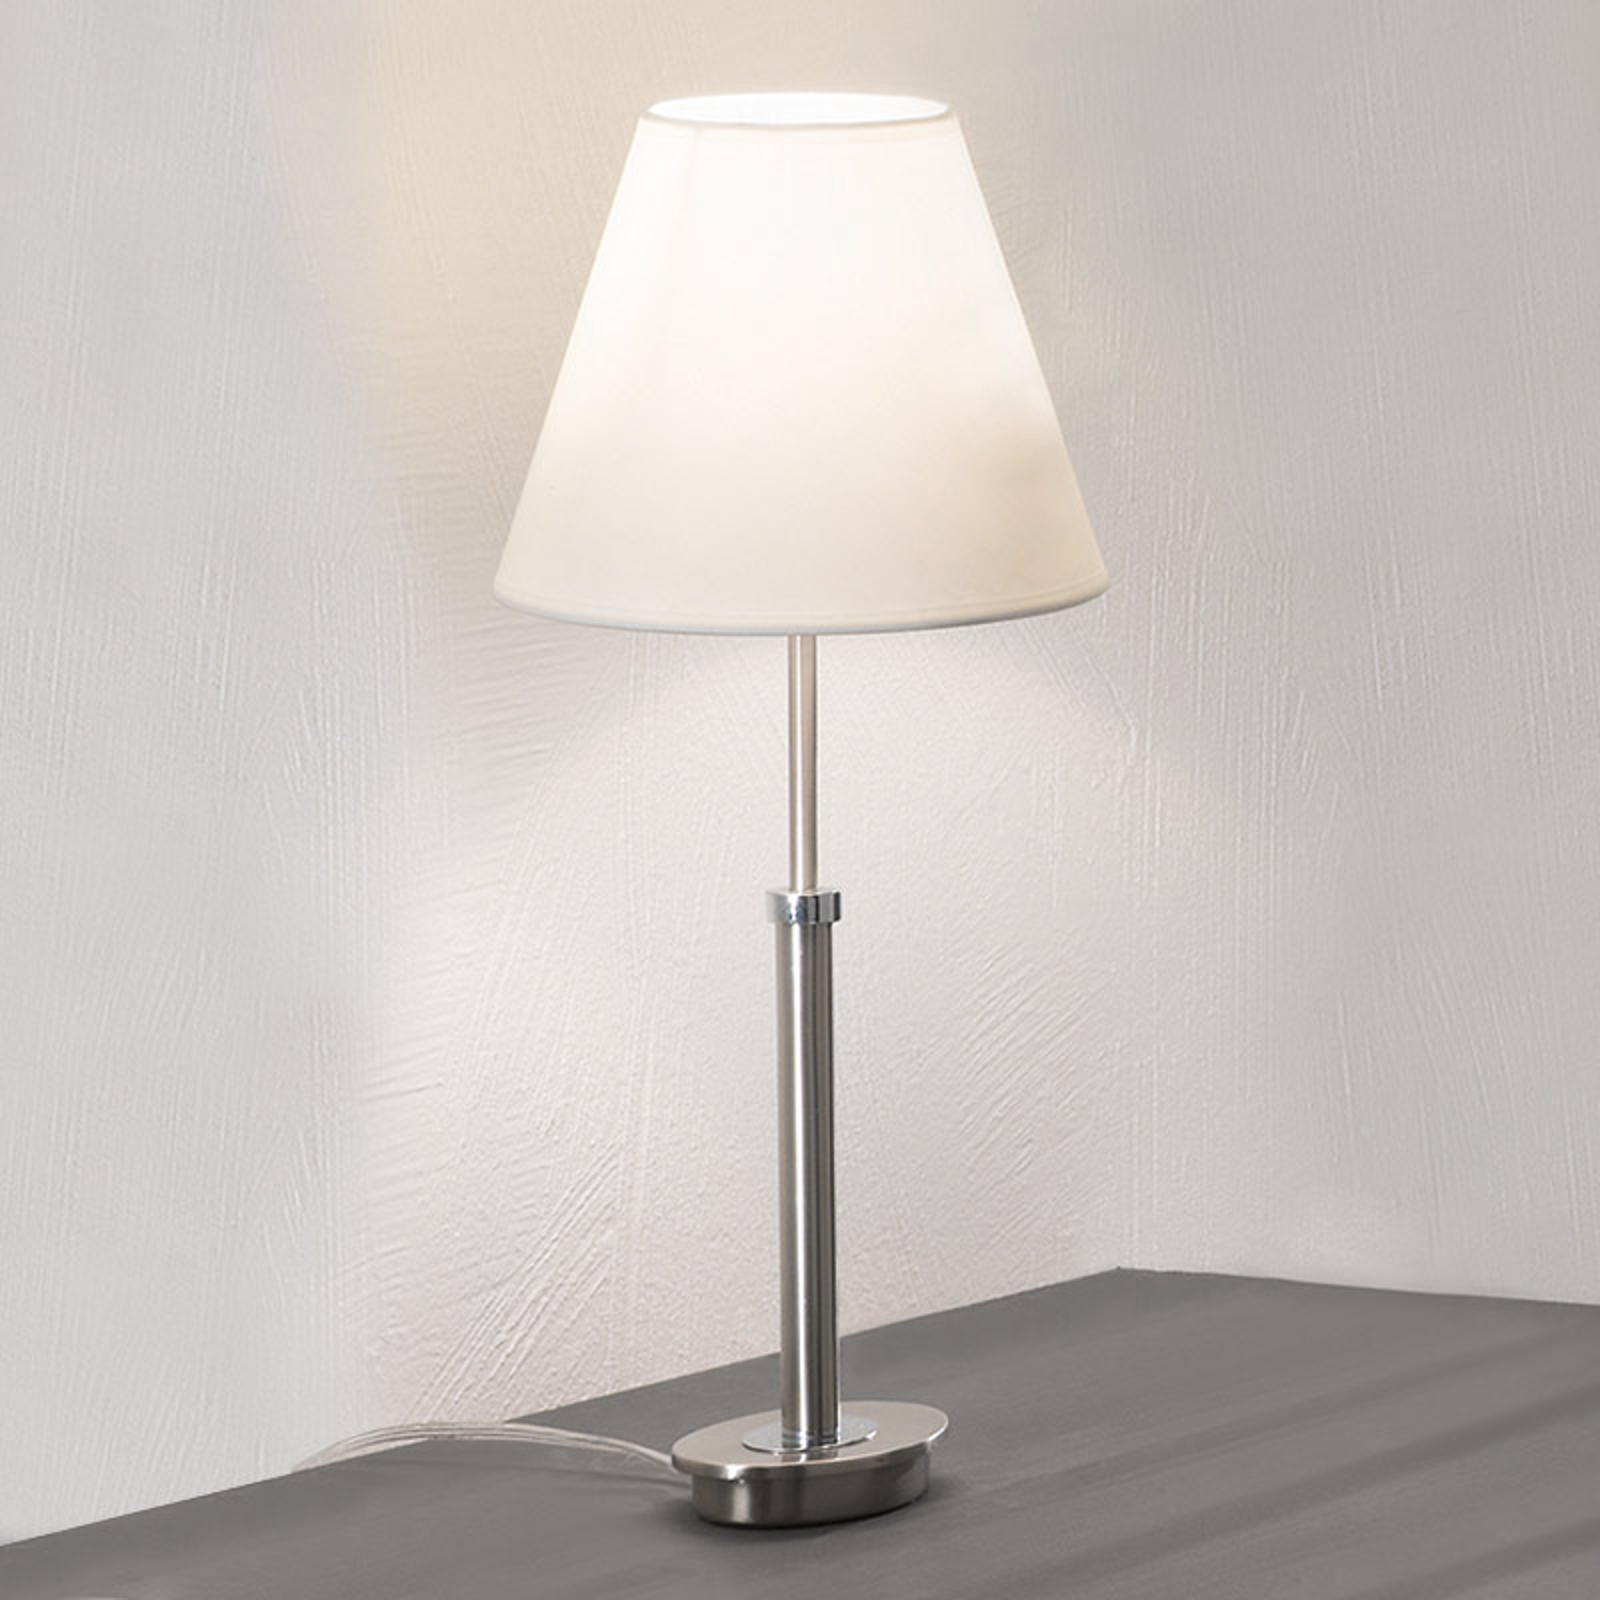
A light socket is a device that supports an electrical connection for an electric lamp base, and when it disrupts, it becomes essential to replace it. Replacement of a bad lamp socket is a simple and ideal home improvement task that will make you feel like the head of your domain.
Don’t know how to fix a lamp socket? Worry not! Dive into this complete guide and learn to fix the lamp socket following eight easy steps.

How To Replace A Lamp Socket?
If your lamp’s socket is in fault, and you want to replace it with new one, follow these ways for lamp socket replacement.
Buy Ideal Socket
If you are willing to replace your lamp’s socket, get it from your near-home center or hardware. Pay more focus to the base size of the lamp bub to cut down your options. Usually, the E26 base fits widely to regular-sized bulbs.
You can also bring any of your lamp’s bulbs to the nearby store to check if the socket fits with its base. Match the dimension and switch type of your new socket with the old one to determine if it’s the same. Now start with the socket replacement process.

Cut Off The Power & Detach The Lamp
Begin by cutting off the power and detaching the lamp. Never use any tools and machinery when the lamp is connected. After that, detach the shade, unscrew the bulb, and pin the socket shell at the lever to separate it from the cardboard insulator and the socket cap. Also, don’t use a screwdriver to detach the socket if you are willing to use it again.
Now, pull the socket far from the shell till the cords will allow. You can also draw the wire up from the lamp’s bottom for more slack if you don’t have enough wire.
Remove The Lamp’s Hardware
After detaching the light bulb and lampshade, remove the other lamp’s hardware. This hardware includes the lamp’s harp, which is bolted to the amplifier near the socket’s base. And another is a brass and silver wire hoop that conceals the light bulb and keeps the lampshade in place.

Cut The Socket Off & Take It Out
After separating the socket from the shell, look for two cords attached to the light switch mechanism. And before detaching these cords, do check and remember which color screw is connected to which cord. Like, brass screws usually protect the lamp switches with black (hot) wire, and silver ones are for white (neutral) cords.
Start with loosening the screws placed in the socket’s terminal to separate the wire. Also, make sure the wire is knotted to prevent it from being tugged out at its base. Detach the socket’s keyset screw and pull out the old socket, the shell and it.

Also Read: How To Replace Lamp Shade Cover: 7 Easy DIY Steps
Remove The Power Cord
Now it’s time to trim the cable of about 12 inches from the base, separate the two conductors aside, and trim around an inch of insulation from the edge to detach the tight wire. Do this again to the new cord’s beginning. Now, twist together the ending points of the wire’s new and old conductors, and then bend the twists flat.
Use electrical tape to conceal the splice. Watch the old wire from the lamp’s topside and install the new wire from the lamp’s bottom. And if you have sufficient wiring pushing out the top, trim and detach the old wire from the fixture.

Reconnect The Terminal’s Cords
Every twisted end of the cord should be flattened into a clockwise loop, inserted underneath the socket’s terminal screw and covered around the screw in a clockwise direction. Now firmly screw terminals. The clockwise loop pulls the cord near the screw head as every screw is tightened. The propensity of an anticlockwise loop is to give slack to the wire.
You can use diagonal cutters to detach the additional bare cord. All insulated cords need to be concealed beneath screw heads, and no loose strands or bare cords should be visible. Then, unscrew the terminals, pull out the cords, and connect them again if any bare cord is visible by the screw heads.

Connect The Plugs With Insulator
Set the socket shell on top of the insulator, then place the socket above the shell and insulator. After that, protect the shell and socket in the cap. Connect a quick-clamp plug to the other end of the cord. Place the wire’s end in the opening slot on the side of the plug and depress the switch at the top.
If you are using a screw-type plug, prepare the cord ends like for a socket screw attachment before fastening them. Before knotting the bare end below the screw head, cover each cord around the plug’s point. It is tough to lose connections by pulling on a cord when there are loops and knots because they stop cords from touching one another.

Attach The New Socket
Now we are in the last step of socket replacement. Before threading the base for the new socket’s installment onto the lamp rod, first separate the setscrew on the lamp’s base and fasten it. Also, the bare end of each cord should be straight, and the isolated cords should be clockwise twisted together.
Use neutral wire to conceal the cord ends around the beginning of the neutral (silver) screw terminal in a clockwise motion. Tightens the screw firmly using a screwdriver. Make sure insulation should only be in the bare metallic ends and not beneath the screws. Use the same technique and connect the black cord to the ending of the brass screw.
Read the guide properly and replace your lamp’s socket following eight easy steps.

Read the guide properly and replace your lamp’s socket following eight easy steps.